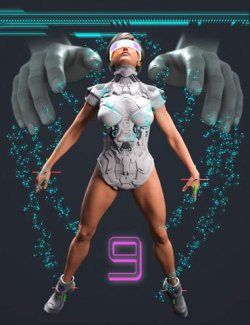
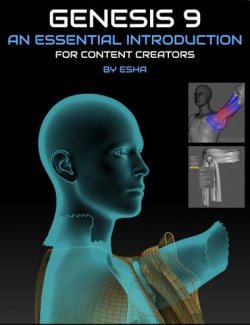
Genesis 3, Genesis 8, Genesis 8.1, Genesis 9... There are so many iterations now that it's hard to keep track of them all. Never fear, we're here to help you understand the differences and subtleties between Genesis 9 and earlier iterations.
The first question that everyone wants to know... "is it better," and the short answer is yes, definitely!" As John succinctly states in the course. This version is a case where updating the figure actually makes posing the character easier, and more logical, and gives a more realistic render in the final product.
If you are an artist that is after realism, then Genesis 9 is definitely a product you should look into.
In this tutorial, we'll walk you through the differences in the skeletal structure. Both naming and simplification. John demonstrates what bones do and how they can be used to help create a more realistic render.
We talk about the uses of the new bone "hand anchor" in depth. This simplistic name is a very powerful tool in your posing toolbox and one that shouldn't be overlooked.
Expressions have also been updated, so much so, that the name of the expression now actually represents the look that you'd expect. But we don't stop there. Mixing and matching expressions, and creating your own expressions are all covered.
Finally, we'll go through posing a Genesis 9 character using the parameters dials.
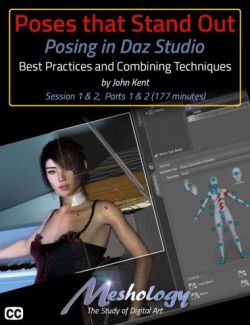
We do not cover all the methods of posing a character in Daz Studio. For that, we have the previous tutorials that still stand the test of time... Creating Poses that Stand Out.
Anyone that's either bought a Genesis 9 character or is sitting on the fence will find useful content in this tutorial.
What's Included and Features
- Posing Genesis 9 to Stand Out
- Video 1 : 29:01 minutes
- The Skeletal Differences Between Genesis 9 and Earlier Models
- Intro
- Comparing the Different Characters
- Differences in the Bones
- The Effects of Twisting the G9 Thigh
- Differences in the Foot
- Moving Up the Skeleton from the Hip Bone
- Expand from Selected
- All Bones are Numbered Moving Away from the Hip Bone
- Examining the Differences in the Hands
- The Hand Anchor Bone
- The Head of the Skeleton
- Facial Expressions are Accessed through the Pose Controls
- The Base Genesis 9 Figure is Gender Neutral
- Products Used in the Tutorial
- Video 2 : 55:50 minutes
- Posing Genesis 9 and Recommended Workflow
- Intro
- The Scene Setup
- Morphs that Break the Pose
- Recommended Workflow
- The Advantages of Mixing Characters Physical Traits
- Base Genesis Figures
- The Asymmetry Option
- A Better Way to Raise the Figure From the Ground
- Issues with the Weight-Bearing Leg
- Fixing the Position of the Foot
- Testing Poses for Realism
- Working on the Upper Body Pose
- Dragging a Body Part into Position (Inverse Kinematics)
- Pinning Bones in Position
- Placing a Prop
- Parenting to the Hand Anchor
- The Effects of Using the Hand Anchor
- Establishing Contact with a Prop
- Effects on a Prop During a Morph
- Using a Camera to Aid in Position the Head and Eyes
- Posing the Eyes
- Adding Expressions
- Mixing Expressions
- Creating Your Own Expressions
- Expressions by Facial ‘Part’
- Visemes
- Examples of Fixing Skin Twist
- Products Used in This Tutorial
- Documentation: (.PDF)
- This tutorial is professionally edited and indexed for random access and Closed Captioned in English
- This tutorial includes a PDF index with time code references for the User's own notes located in the same folder as the video
Compatible Software:
Daz Studio 4.21
Install Types:
DazCentral, DIM, Manual Install